
Every kitchen has a backsplash for the same reason every car has a windshield: because what gets cooked in the front half of that room is going to end up somewhere it wasn’t supposed to. The difference is nobody feels defeated by windshield wiper fluid. A greasy backsplash, on the other hand, has a way of sitting there for weeks in plain view, a small monument to every pan of bacon and every aggressive stir-fry, silently judging everything you do in that kitchen.
The frustrating part isn’t even that it gets dirty. Of course it gets dirty. You cook in there. The frustrating part is that every attempt to deal with it seems to produce either a surface that still has a faint, oily film, or a situation where you’ve now also soaked the grout, and a project that was supposed to take five minutes has turned into something requiring three rags and a dry run. You start to wonder if you’re doing something wrong. You’re probably not. The method just actually matters, and it varies depending on what your backsplash is made of.
Here’s what cleaning experts and material specialists consistently recommend, organized by what actually works, what to avoid, and how to keep the whole thing from becoming a recurring crisis.
Why a Greasy Backsplash Is Its Own Category of Mess

When you finally clean a greasy backsplash, you’re not just dealing with grease – you’re dealing with dried-on grease, which is a completely different problem. Fresh cooking splatter wipes off easily. The stuff that’s been sitting there since last Tuesday has bonded with your tile surface in a way that requires actual chemistry to break it apart.
Grease provides a breeding ground for bacteria, so removing it regularly isn’t just cosmetic – it’s a food safety issue. That’s the part most of us don’t think about. The backsplash is directly adjacent to where you prep food, and a thin, invisible layer of polymerized cooking fat doesn’t exactly discourage microbial activity.
Simply wiping down the backsplash after cooking isn’t enough. According to Oasis Tile, it removes initial surface layers but doesn’t address the mold, grease, and food stains that accumulate steadily in high-traffic areas near the stove. A quick wipe and a regular deep clean are two different tasks that both need to happen, on different schedules.
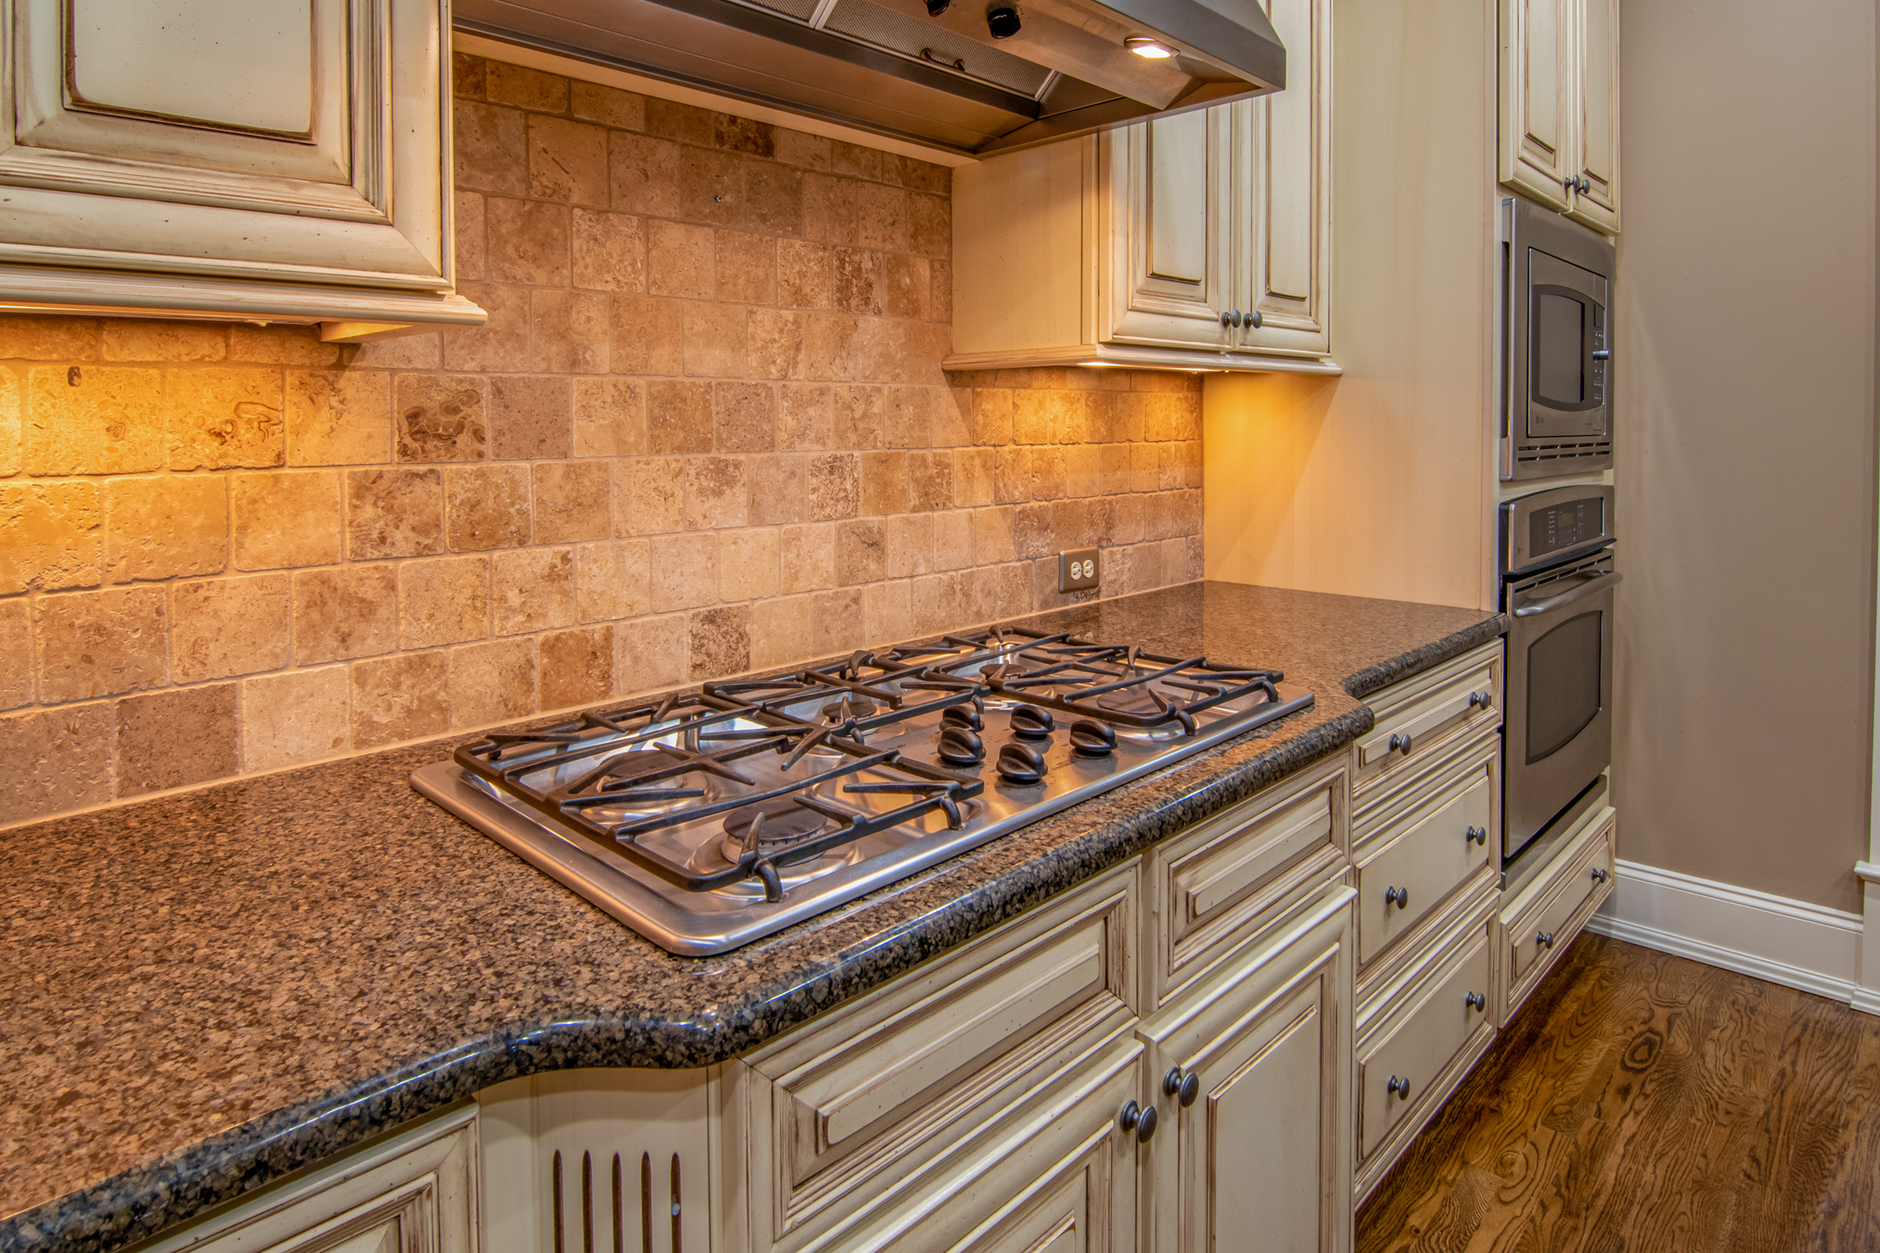
Know Your Backsplash Material First
The most important factor when cleaning a kitchen backsplash is, first and foremost, the backsplash material. The method that works beautifully on ceramic tile can quietly destroy a natural stone surface, and using the wrong thing once is all it takes to dull a finish permanently.
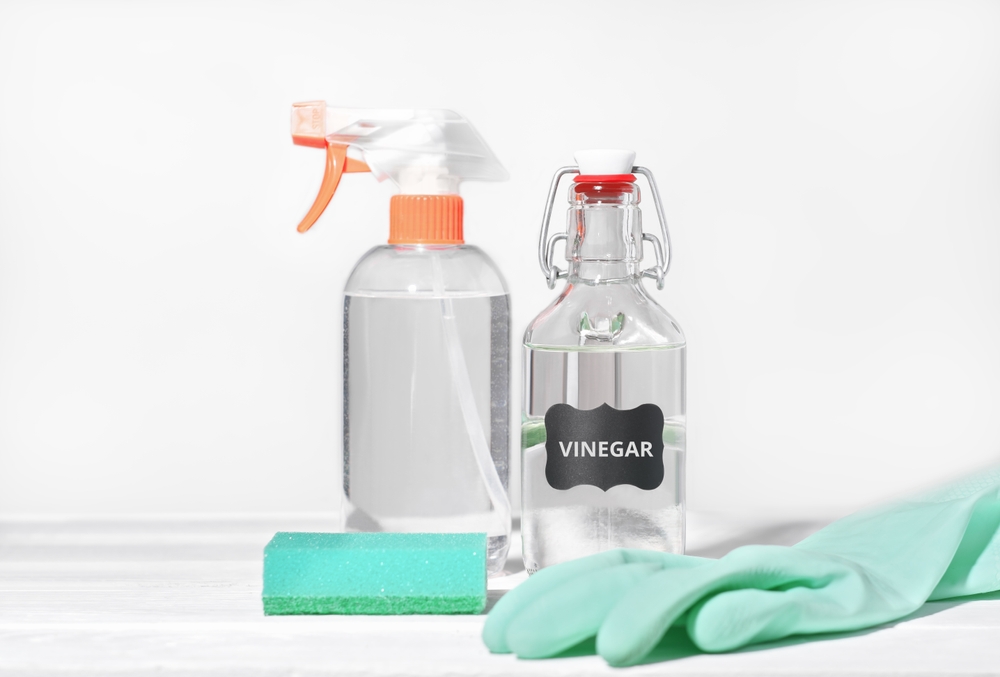
Glazed tile – glass, ceramic, or porcelain – is the easiest backsplash to clean because the grease sits on the surface rather than seeping in. For those materials, The Kitchn confirms that hot water, dish soap, and distilled white vinegar handle the tile itself well, with a baking soda paste and a toothbrush reserved for the grout.
Natural stone is a different matter entirely. Quartz, marble, granite, and brick are all sensitive to harsh chemicals, acids, and abrasive cleaners. Do not use vinegar or citrus-based cleaners on stone backsplashes – the acidity etches and dulls the surface. Dish soap or a mild stone-specific cleaner with a non-abrasive sponge is the right call.
Sealing natural stone tiles on a kitchen backsplash is critical, especially since they’re porous and can absorb the many substances that come into contact with them during cooking. If your stone backsplash isn’t sealed, cleaning it becomes a permanent uphill battle.
How to Clean a Greasy Backsplash: The Step-by-Step
The actual process is less complicated than it looks online. The issue is usually sequencing – people tackle the tiles before the grout, or skip the rinse step, or use the wrong water temperature.
Start with the grout. If the grout has greasy spots, clean it first, before cleaning the tile or brick, to prevent streaks. Dip a dampened soft-bristle toothbrush in baking soda, scrub the grout, then wipe away the residue with a damp cloth. The reason for going grout-first is that anything you loosen from the grout lines will run down onto the tile, and you’d rather be cleaning in that order than the reverse.
Apply a soapy solution to the tile. Fill a spray bottle with hot water and a few drops of dish soap, then lightly mist the tile backsplash. E-Cloth USA recommends letting the solution sit for a few minutes so the soap can break down the grease before you touch it. That dwell time is the step most people skip because it feels passive, but it’s doing real work.
Wipe with a microfiber cloth, not a rough pad. Harsh scrubbing pads and steel wool will scratch and mar the tile surface. Soft brushes and microfiber cloths remove grease without damaging the finish. Moving in small circular motions picks up more grease than dragging the cloth in straight lines.
Call in baking soda for stubborn spots. For any stubborn, greasy spots or dried splatters, sprinkle a bit of baking soda onto a damp sponge. Baking soda acts as a mild abrasive and gently scrubbing trouble spots breaks the grease up. This is the step where you’ll genuinely feel it working – the texture change as the grease releases is satisfying in a way that few domestic tasks manage.
Finish with a vinegar rinse. For all backsplash types except natural stone, a final rinse of 50/50 water and distilled white vinegar in a spray bottle removes soapy residue and any traces of lingering grease. Spray lightly and dry with a microfiber cloth. For stone, skip the vinegar and use plain water instead.
Dry thoroughly. Wipe away any soap residue with a clean damp cloth, then use a dry microfiber cloth to dry the tiles, making sure no streaks or water spots remain. This last step is what gives the surface that actually-clean look rather than the technically-clean-but-slightly-filmy look.
What the Testing Actually Shows
Side-by-side comparisons of common cleaning methods – dish soap, vinegar spray, baking soda paste, a Magic Eraser, an all-purpose microfiber cloth, and commercial heavy degreasers – have been run on real kitchen backsplashes with accumulated cooking grease. The results are instructive because they push back on some popular assumptions.
Vinegar alone is not the miracle solution social media makes it out to be. Vinegar spray is difficult to use on vertical surfaces because it runs immediately and can’t dwell on the surface. Because of this, it doesn’t break down grease as effectively as expected, and you end up scrubbing harder and longer than with other methods.
Dish soap, particularly the concentrated degreasing formulas designed for cutting cooking fat, consistently outperforms plain vinegar on fresh and medium-weight grease. The surfactant chemistry in dish soap is specifically engineered to surround and lift oil molecules, which is what makes it so effective in this application – and why it’s worth using the good stuff rather than whatever generic bottle is nearest the sink.
When grease buildup is severe, a dedicated cleanser is worth reaching for. The best options are pH neutral and contain effective degreasing agents that can penetrate deep into grout and remove even the toughest buildup. The commercial degreasers formulated for kitchen use beat out DIY solutions on hardened, heavy grease – but for everyday and weekly maintenance, the dish soap method holds its own.
The Materials That Make All the Difference
The cleaning solution matters, but the tools you use to apply it matter almost as much. If you’re using a rough sponge or an old rag with no pile, you’re working against yourself.
A microfiber cloth is worth having specifically for this job. Letting the cleaner sit helps it break down stubborn grease effectively – a hurried scrub won’t tackle deep-set grime, but giving the solution a few extra minutes makes the wiping almost effortless. The fibers in a good microfiber cloth do mechanical work at a level that a flat cotton rag doesn’t replicate.
A dedicated soft-bristle toothbrush that lives under the sink for grout duty is a genuinely good idea and not just something professional cleaners say for content. Grout lines are narrow enough that any other brush just rides over the surface without getting into the channel. Two minutes with a baking soda-dusted toothbrush accomplishes more than ten minutes with a sponge.
You can also naturally clean your whole kitchen with pantry staples beyond the backsplash – the same baking soda and vinegar principle extends to appliances, the microwave, and more.
Cleaning by Backsplash Type: Quick Reference
Not every backsplash is tile. Here’s what changes when the surface does.
Laminate backsplashes respond well to hot water, dish soap, a non-abrasive sponge, and a follow-up wipe with distilled white vinegar on a microfiber cloth. Avoid leaving water pooled on laminate seams.
Metal tile cleans effectively with warm water and a mild dish soap solution on a microfiber cloth. Metal tiles have no grout lines, which makes them among the easier surfaces to keep clean – there’s nowhere for grease to hide between tiles.
Painted or wallpapered backsplash walls are the most unforgiving. Greasy painted or papered backsplash areas are the hardest to clean – always use a light touch and as little cleaning solution as possible to prevent damage. Test in an invisible corner first, and use only washable paint or vinyl-coated wallcovering if you’re doing any renovating.
Glass tile is visually stunning and practically forgiving. The non-porous surface means grease doesn’t absorb, and the same hot water, dish soap, and vinegar combination that works on ceramic handles glass without issue. The main enemy of glass tile is streak marks from too much solution or an un-rinsed cloth.
Building a Cleaning Schedule That Actually Holds
Creating a backsplash cleaning schedule keeps daily, weekly, and monthly tasks organized. A practical structure looks like this: spray and wipe down daily; wash with soap and water weekly; deep clean the tiles and grout and inspect for damage monthly.
The daily wipe matters more than it sounds. Fresh cooking grease takes seconds to address. The same grease after five days of additional heat cycles has started to polymerize – essentially curing onto the surface like a thin varnish – and now it needs actual effort.
Using a splatter guard while cooking cuts down on the volume of what reaches the backsplash, and cooking at lower heat also reduces splatter. Neither eliminates the need for cleaning, but both reduce how often the deep clean is necessary.
Read More: Throw Out These Kitchen Items (Today!)
The Honest Version
The backsplash is one of those things that gets away with accumulating months of damage because it’s just above eye level when you’re actually cooking. Nobody stares at it. And then one day you’re standing there waiting for the kettle and you really look at it, and you understand that the six minutes of weekly maintenance you’ve been skipping has now become a project.
The good news is that nothing described above is genuinely hard. A spray bottle with hot soapy water, a microfiber cloth, a box of baking soda, and a toothbrush you’ve officially retired from dental duty cover 95 percent of everything. The method matters less than the consistency. A backsplash you wipe down twice a week never needs the full protocol. One you address once a month will always require more effort than you budgeted. That’s the whole thing, really – the maintenance schedule is the cleaning strategy.
AI Disclaimer: This article was created with the assistance of AI tools and reviewed by a human editor.