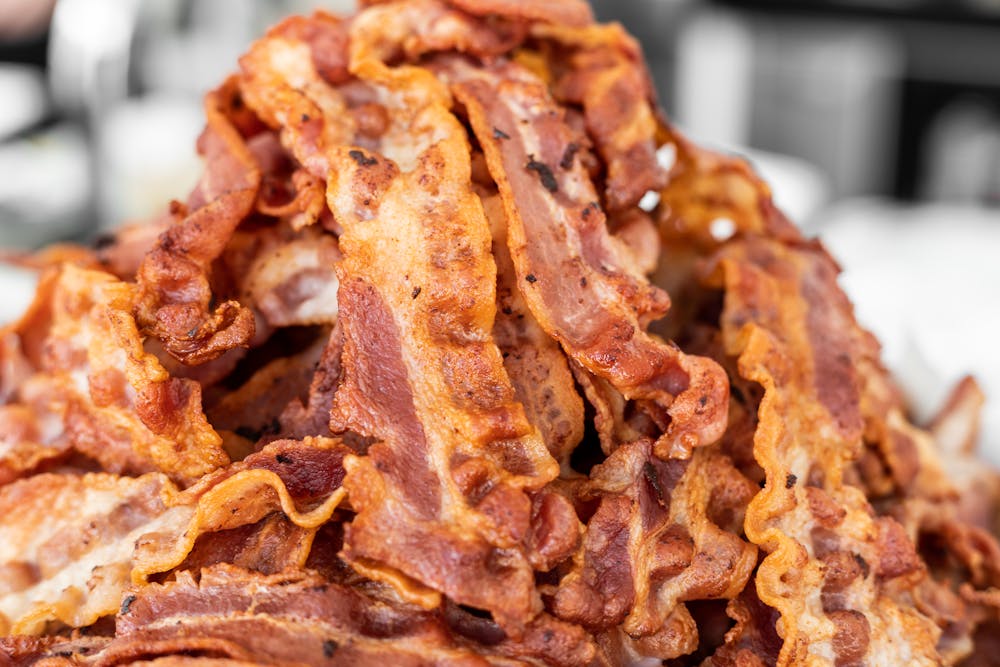

Somewhere between charred edges and that rubbery, greasy center nobody asked for, most of us learned to accept mediocre results and call it breakfast. It’s one of those things – you’ve been making it your whole life, the kids love it, and yet every single time there’s a strip that came out perfect right next to one that’s practically a crouton. Surely it isn’t that complicated. And yet.
Here’s the thing: it probably isn’t your fault. The way most people cook bacon – whether that’s a screaming-hot frying pan or a fully preheated oven – is working against the ingredient from the very first second. And once you understand why, the fix feels almost embarrassingly simple.
Chef Nick DiGiovanni has been making waves online with a technique that breaks one of the most instinctive rules of cooking: he doesn’t do things how most people would. And the results – consistently golden, crispy without being brittle, evenly cooked from end to end – have a lot of home cooks reconsidering everything they thought they knew about a Sunday morning staple.
What Is the Crispy Bacon Method?
Nick DiGiovanni is an American celebrity chef, social media personality, and entrepreneur who has built one of the largest food audiences on the internet. After becoming the youngest-ever finalist on MasterChef, Nick rapidly gained a loyal, eager-to-learn audience, and today has over 50 million followers across social media. He’s not just a content guy, either – his training includes a Harvard degree in Food and Climate, hands-on experience in three-star Michelin-starred kitchens, and work at world-class restaurants including Benu in San Francisco and Waypoint in Cambridge. That combination of professional kitchen knowledge and genuine enthusiasm for making cooking accessible to regular people is exactly why his techniques tend to hold up when you try them at home.
Since launching in January of 2025, his Nick’s Kitchen YouTube channel has reached nearly 2.5 million subscribers and 100 million viewers. The cold oven bacon technique is one of the methods he’s been sharing with that growing audience – and it’s straightforward enough to change your morning routine for good.
The approach is deceptively simple. According to Nick, the method involves placing bacon on a wire rack over a lined baking sheet, setting the oven to 400°F (205°C), and cooking for 18 – 20 minutes – all without preheating the oven first – to allow fat to render slowly and prevent curling. That’s it. No thermometers, no timers you have to babysit, no grease splatter to clean off the stovetop later.
Why You Should Start Bacon in a Cold Oven
The science here is pretty intuitive once it’s laid out. When you place bacon straight into a hot environment – a scorching skillet or a fully preheated oven – you’re essentially shocking it. When bacon is placed in a hot pan or preheated oven, the meat tightens too quickly, causing curling, uneven browning, and spots that burn before others crisp. The meat reacts faster than the fat can melt away – which is why you end up with that frustrating combination of one overdone end and a floppy middle.
Just a Taste notes that starting bacon in a cold oven allows the fat time to render slowly and evenly as the temperature rises, leading to consistent crispiness from end to end – a technique rooted in professional kitchen training. In a restaurant kitchen, even heat distribution isn’t a luxury; it’s a requirement. This method brings that same logic home.
Chloe’s Recipes explains that the gradual temperature increase allows fat to render out slowly and evenly, resulting in bacon that is crispy without being burnt or unevenly cooked from edge to edge. Think of it less like cooking and more like a slow, deliberate transformation – the fat has time to melt away properly, leaving behind the crispiness you actually want.
There’s also a practical bonus that anyone who’s ever grumbled while scrubbing the stovetop will appreciate. Just a Taste also reports that starting cold results in far less grease splatter on the inside of the oven compared to placing bacon in a preheated one. Less mess, better results. It’s a good deal.
The Cold Oven Bacon Method Step by Step
Ready to try it? Here’s exactly how the oven-baked bacon technique works, laid out clearly so there’s no guesswork.
First, line a rimmed baking sheet with foil – this is your grease catcher and will make cleanup genuinely painless. Then set an oven-safe wire cooling rack over the baking sheet. Using a wire rack over the baking sheet allows hot air to circulate all around the bacon, producing even crispier results, with rendered fat dripping down onto the foil below. This is a key detail – without the rack, the bacon sits in its own fat and fries unevenly from the bottom up.
The method works for both regular-cut and thick-cut bacon, with the oven set to 400°F and strips arranged in a single layer without overlapping for even cooking. Overlapping is tempting when you’re feeding a crowd, but it defeats the purpose – pieces that touch won’t crisp properly because the heat can’t reach them equally.
Now here’s the part that feels counterintuitive: put the pan in the oven before you turn it on. Do not preheat. Set the oven to 400°F and cook for 18 – 20 minutes, letting the fat render slowly as the temperature climbs. That gradual rise from room temperature to full heat is doing all the work.
Once it’s done, don’t skip the next step. After removing from the oven, the bacon should rest for 2 – 3 minutes, during which it firms up to achieve its final crisp texture. This is the same principle as resting a steak – pulling it out while it still looks slightly underdone is actually the right call. It’ll finish on the rack.
As a time bonus, the cold oven method also skips the 10 – 15 minutes typically spent waiting for a preheated oven, saving real time while producing better results than the traditional preheated method. On a busy morning, that’s not nothing.
Does Cold Oven Bacon Come Out Crispier Than Pan-Fried?
It’s a fair question. Pan-frying has a lot going for it – it’s fast, it’s intuitive, and the smell alone is enough to wake up a household. But the consistency just isn’t there. Controlling the heat under a pan manually is a constant negotiation, and one distracted minute (school bag, missing shoe, anyone?) can tip perfect into ruined.
The oven approach, and specifically the cold-start version, removes most of the variables. Food Network points out that when bacon is added to a hot pan, the fat seizes and gets locked inside, resulting in soggy slices. The cold-start principle applies whether you’re using the stovetop or the oven – but the oven gives you the additional benefit of hands-free cooking and air circulation on all sides.
The wire rack is the unsung hero here. In a skillet, one side of the bacon is always pressed against a flat surface. In the oven on a rack, hot air surrounds the entire strip, crisping both sides simultaneously without flipping. For thick-cut strips especially, this makes a noticeable difference in texture.
And the pan-fried method tends to produce a lot more mess. Grease pops when it hits high heat. With the gradual oven approach, the fat renders gently and drips down onto the foil with far less drama. Cleanup is as simple as lifting the foil and tossing it.
A Few Extra Tips Worth Knowing
The basic method is foolproof, but a few small additions can make the whole thing even better. Don’t crowd the pan, even if it means doing two batches. Single-layer, non-overlapping strips are what give you the evenly cooked bacon you’re going for. If you pile them on, the steam trapped between pieces will work against crispness.
Thick-cut bacon may need a couple of extra minutes – closer to 20 – 22 rather than 18. Keep an eye on color during the last few minutes, but resist the urge to pull it too early. It firms up significantly as it rests on the rack after coming out of the oven.
Save the drippings. The foil-lined pan makes this easy – let it cool slightly, then carefully pour the rendered fat into a jar. Bacon drippings keep in the fridge and are genuinely excellent for sautéing vegetables, making cornbread, or crisping up potatoes. Restaurant kitchens never throw this stuff away, and neither should you.
If you want to make a big batch ahead of time, this method is ideal. The results reheat well in a warm oven for a couple of minutes without going rubbery, making it useful for feeding a group at brunch or prepping lunchbox additions for the week.
3 More Secret Kitchen Tips
Before you go, there are a few more kitchen hacks that can save you time, money, and keep your food tasting as good as possible.
Use a Damp Towel to Revive Stale Bread: Few kitchen letdowns match opening a loaf of bread and finding it dry, hard, or lifeless. Many people assume stale bread belongs in the trash, but there is a quick way to bring it back. Lightly dampen a clean paper towel or kitchen towel, then wrap it around the bread. Place it in a warm oven for several minutes. The moisture helps soften the crumb while the heat refreshes the outer crust. This works especially well for dinner rolls, baguettes, and artisan loaves that have gone firm overnight. It can also improve bagels and sandwich bread if they are only slightly stale. The key is using a small amount of moisture. Too much water can leave the bread soggy instead of refreshed.
This trick saves money and cuts waste. Instead of tossing bread after one dry day, it can be used again for breakfast toast, sandwiches, or garlic bread. It is one of those simple kitchen moves that feels surprisingly effective once tried. If the bread is far past its best, turn it into croutons, breadcrumbs, or French toast instead. But for bread that is just starting to dry out, a damp towel and warm oven can make it feel fresh enough to enjoy again.
Freeze Herbs in Olive Oil: Fresh herbs often start strong, then fade quickly in the fridge. One day they look bright and fragrant, then suddenly they are limp and unusable. A smart way to stop that waste is freezing chopped herbs in olive oil using an ice cube tray. Chop herbs such as parsley, basil, dill, rosemary, or thyme. Add them into tray sections, then pour enough olive oil over each portion to cover them. Freeze until solid, then transfer the cubes into a sealed bag or container. When needed, drop one cube straight into a hot pan.
This method adds instant flavor to soups, sauces, roasted vegetables, pasta, or pan-fried chicken. The oil carries the herb flavor well, and the frozen portions make cooking faster on busy days. There is no need to wash, chop, and prep every time. It also helps when buying herbs in bunches. Instead of watching half the packet wilt in the fridge drawer, the leftovers become ready-made flavor boosters. Small systems like this make everyday cooking easier and reduce waste without much effort.
For stronger herbs like rosemary, use less per cube. For softer herbs like basil or parsley, larger portions work well. After using this trick once, many home cooks keep trays stocked year-round.
Warm Plates Before Serving: Good food can lose its appeal quickly when placed on a cold plate. Heat disappears fast, especially with pasta, eggs, grilled meat, or roasted vegetables. Restaurants often warm plates before service, and home cooks can use the same idea with almost no effort.

Place oven-safe plates in a low oven for a few minutes, or rinse plates under hot water and dry them just before serving. The goal is gentle warmth, not scorching heat. A warm plate helps food stay hot longer and improves the overall eating experience. This is especially useful when cooking for guests. If one person is delayed getting to the table, the meal holds its temperature better. It also helps during colder months when dishes cool rapidly after plating.
Warm plates can make simple meals feel more polished. Even scrambled eggs or toast seem better when served properly heated. It is a small detail, yet details often separate rushed meals from enjoyable ones. Just avoid using delicate plates that cannot handle heat. With safe dishware and a few extra minutes, this easy trick can noticeably improve dinner time results.
The Bottom Line
Nick DiGiovanni’s cold oven bacon method is not a gimmick. It is a smarter way to handle something many people cook out of habit. Starting with a cold oven and placing the strips on a wire rack solves two common problems, uneven fat rendering and patchy crispness. Bacon cooks more evenly, stays flatter, and turns golden and crisp from end to end. It also creates less mess and removes the need to stand over a hot stove.
For busy weekend mornings, this kind of approach quickly proves its value. It works well when feeding a family, managing several dishes at once, or simply wanting breakfast without extra hassle. Once people try it, many stop going back to preheated oven methods.
Disclaimer: This article was created with AI assistance and edited by a human for accuracy and clarity.